A compressor burnout is never just a component replacement job. When a refrigeration compressor fails electrically or mechanically, the system can be left with acid, degraded oil, carbon residue and fine debris that circulate far beyond the failed shell. If these contaminants are not removed properly, the new compressor may fail again in a very short time. For installers and service technicians, a structured cleanup procedure is essential before any restart.
1. Confirm the burnout and identify the likely cause
Before touching the replacement, confirm whether the failure was mainly electrical, mechanical or related to operating conditions such as floodback, overheating or voltage imbalance. Burned terminals, dark acidic oil, strong odor and damaged winding insulation all point toward a severe burnout. This matters because the more aggressive the failure, the more rigorous the cleanup must be. Replacing the compressor without understanding why it failed is the fastest route to a repeat intervention.
2. Recover refrigerant and inspect oil condition
Recover the charge safely and inspect the oil from the failed compressor. If the oil is dark, acidic or contaminated with metal particles, assume the circuit needs a serious cleanup. On larger systems, test the oil in other parts of the circuit as well. Oil condition is one of the most practical indicators of how far contamination has spread.
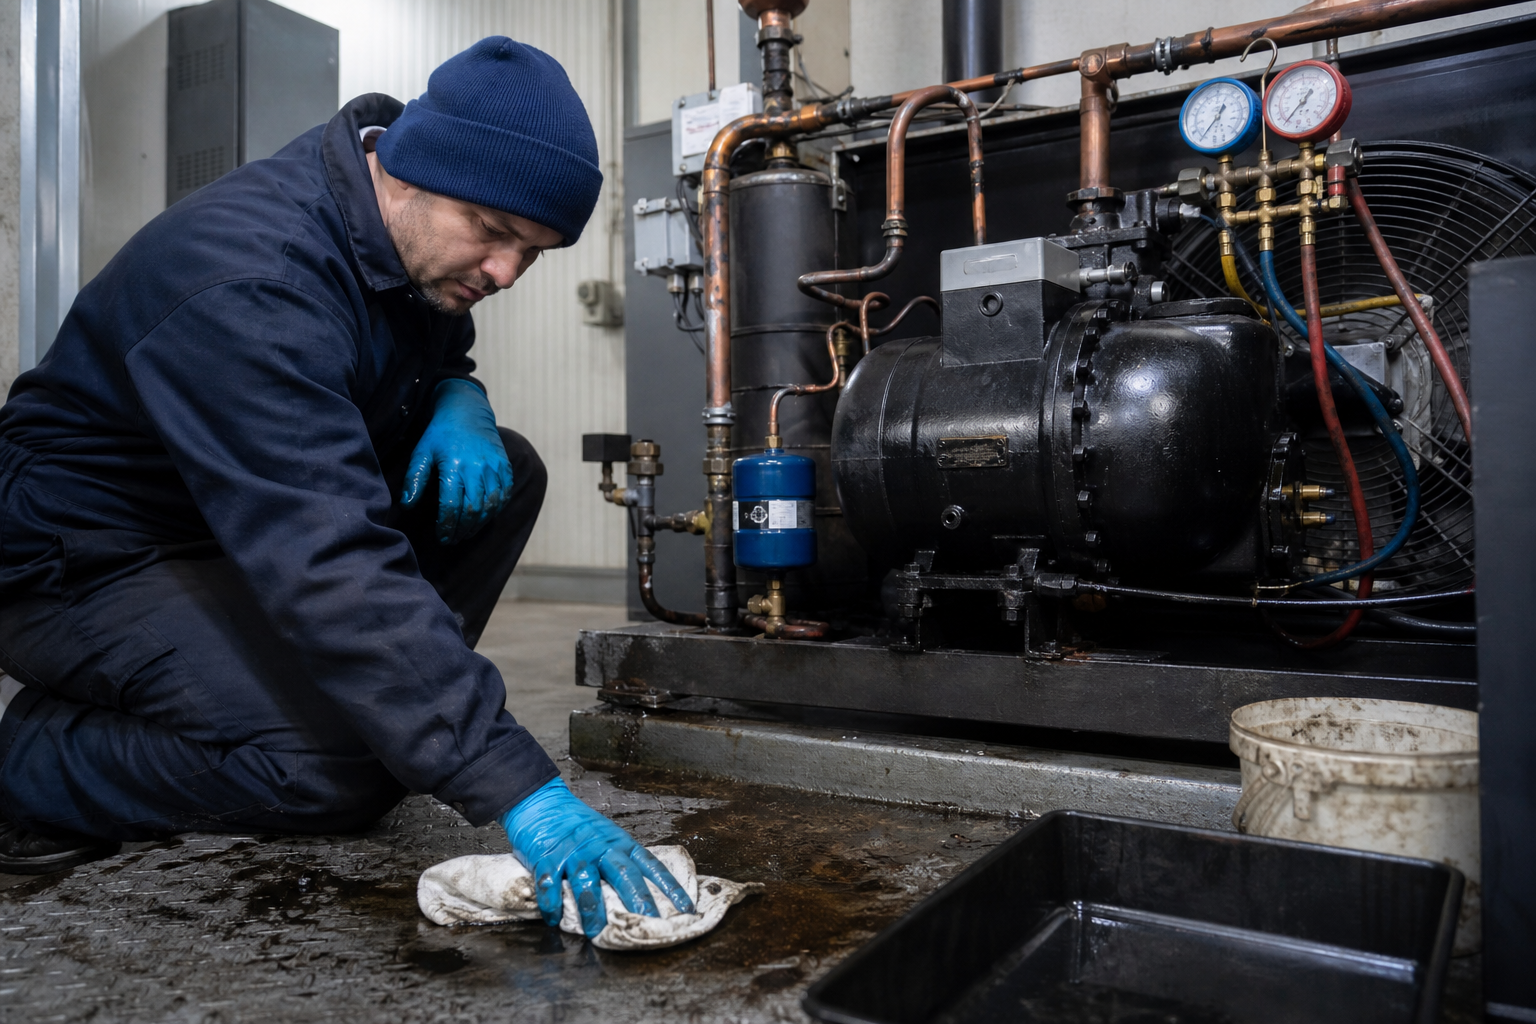
3. Replace contaminated components and protect the line set
Liquid line filter driers should be replaced, and suction cleanup driers should be installed when the burnout is severe or when acid is suspected. Expansion devices, solenoids and oil controls may also need inspection or replacement if contamination has reached them. During brazing, nitrogen purging should be used to avoid creating fresh oxide inside the piping. The goal is not only to remove old contamination, but also to avoid adding new contamination during the repair.
4. Install the replacement compressor with clean oil and correct accessories
The replacement compressor must match the refrigerant, application range, motor characteristics and oil type required by the system. Reusing contaminated oil, reusing a damaged contactor or skipping basic electrical checks creates unnecessary risk. If the system design requires crankcase heaters, safety controls or oil management accessories, confirm that they are present and working before startup.
5. Pressure test, evacuate deeply and verify dryness
Once the system is reassembled, pressure test the circuit properly and then perform a deep evacuation. A low micron reading reached briefly is not enough. The vacuum has to hold, proving that moisture has been removed and that the system is stable. Burnout cleanup fails very often at this stage because technicians rush the vacuum procedure and restart a still contaminated or still wet circuit.
6. Restart under control and recheck acid after operation
At startup, monitor current draw, superheat, suction condition, discharge temperature and oil behavior. After the system has operated for a reasonable period, repeat oil and acid checks where appropriate. On severe burnouts, filter driers may need to be replaced again after initial operation. The first restart is not the end of the job. It is the point where the technician confirms whether the cleanup actually protected the new compressor.
The practical rule is simple: after a compressor burnout, speed is less important than discipline. A correct cleanup procedure reduces repeat failures, protects the replacement compressor and limits downtime for the end user. When the system also needs a replacement compressor or critical spare parts quickly, choosing a supplier that can match the right model and support the restart procedure becomes part of the reliability strategy.